Showing posts with label homemade. Show all posts

Sunday, 29 January 2017

Guest DT Projects for Aunty Vera Scrap + Craft

Hi all,

This month I'm very blessed to have been asked back as a Guest Design Team member for Aunty Vera Scrap and Craft! Vera sent a package full of project life goodies and I had so much fun making some projects with them.


 I made 2 project life spreads:


As well as this gorgeous waterfall folio!


I had so much fun creating this projects. Please check them out on the Aunty Vera blog!

You can find the 2 project life spreads here

And details of the waterfall folio here

I also made an unboxing video sharing the goodies I was sent and a process video + tutorial for the waterfall tutorial.

Enjoy!

- Sarah -

Monday, 2 January 2017

Christmas Art Journal Page

Hi everyone!

Happy New Year and welcome to 2017! Although the New Year is upon us, and I have many exciting things to share in posts to come, I just wanted to share one last minute Christmas project. Christmas is my favourite time of year and I was very blessed to have 2016 be my first Christmas as a married woman. While the season was dampened by an illness I came down with, I was inspired in the days before Christmas to create an art journaling page.

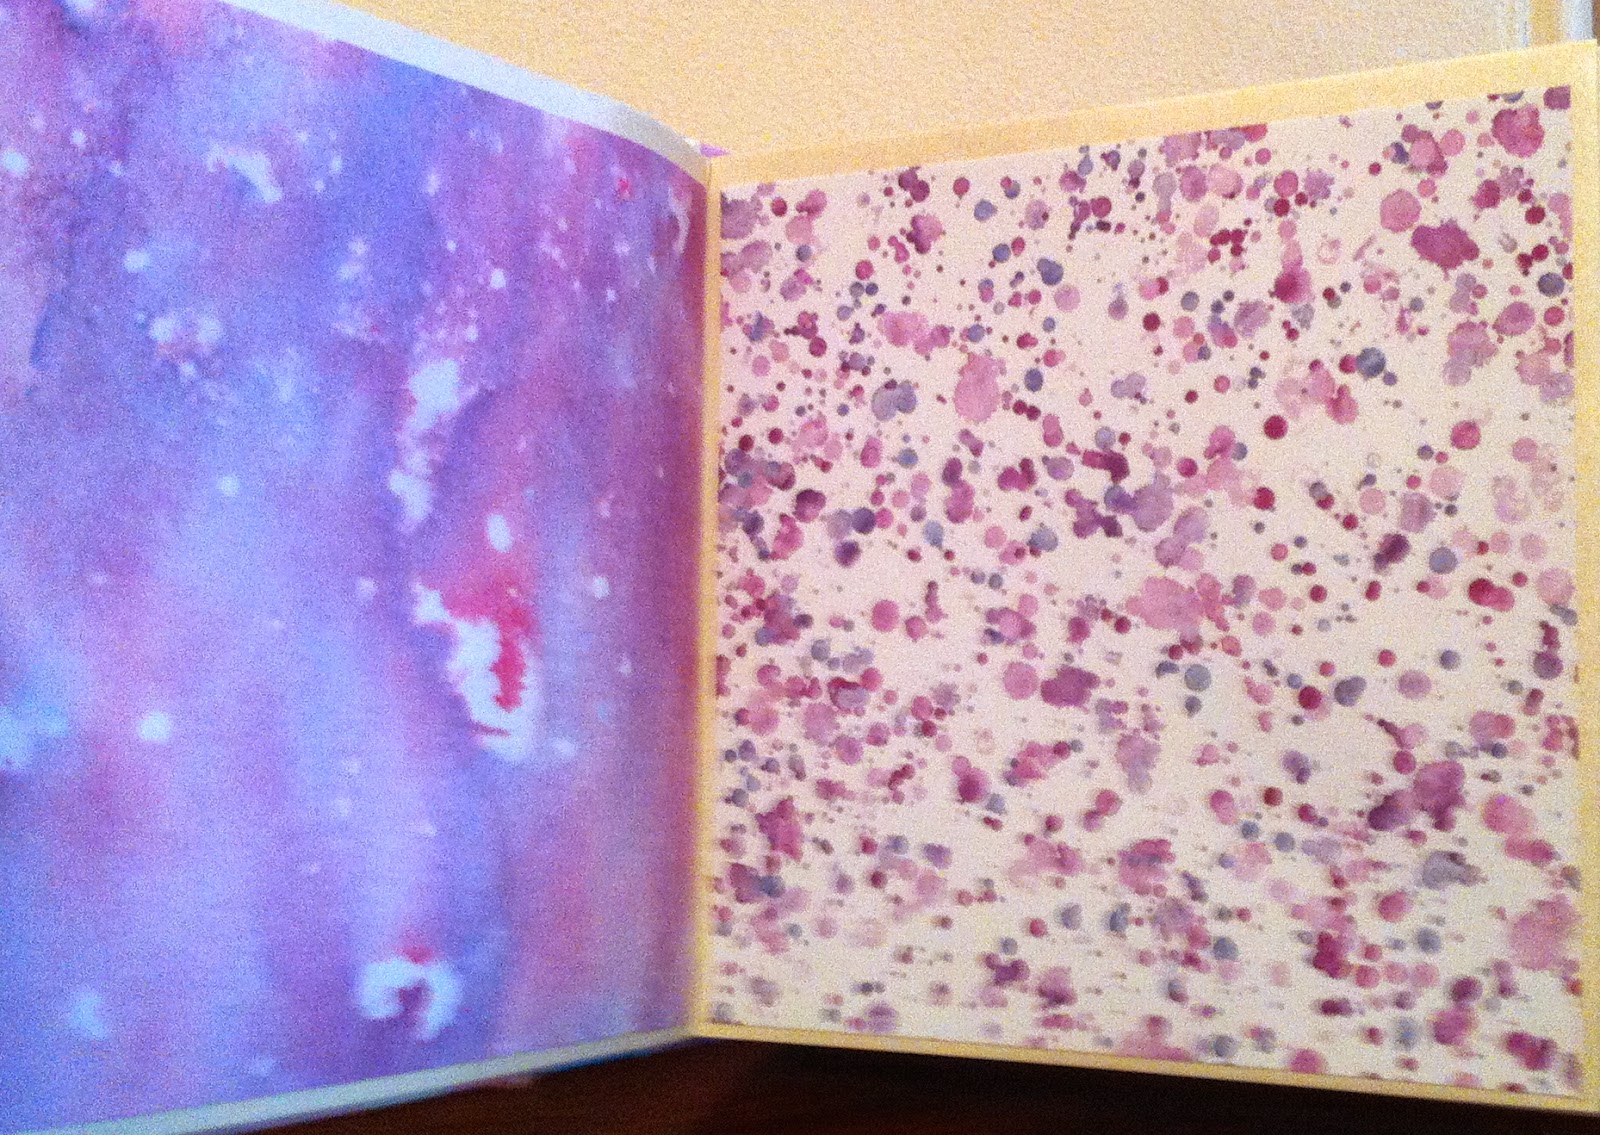
While I've always loved the idea of art journaling, I've never actually sat down and done a page.... until now! I've had this gorgeous leather bound journal that a friend gave me tucked away for  special occasion. The pages are nice and thick so I figured it would hold up with mixed media techniques.


I started with a layer of gesso before adding different shades of red acrylic paint on top. To finish off the background I used some texture paste with a tape measure stencil. I used the "25" section to symbolise Christmas day and stamped a script background using archival ink.


For the left page I used different green washi tapes to create a Christmas tree. Isn't it cute?! I punched a star out of some yellow card stock for the topper and added some kindy glitz to make it sparkle.


I then die cut the word 'joy' using a kaisercraft die. This particular die is actually a tag, but instead of using it as is, I cut around the featured word in a circle. Draw on some string and add some fussy cut snow flakes and I had some pretty baubles hanging near my tree!


For the right page I used some old sizzix dies to cut out the phrase 'Joy to the World'. This is one of my favourite Christmas carols, and I think it's pretty fitting as we celebrate Christmas.


I also die cut a nutcracker using a Kaisercraft die - there's something about him that just makes me smile!


I placed the nutcracker on some Christmas presents that I made. These are so simple to make but look really cute! Just cut out some squares from Christmas (or any occasion) paper and add some bows using thin washi tape.


Finally I added some kindy glitz to the nutcracker and the word 'joy' because I'm in love with sparkles! I also used a felt tip pen to draw around each of the letters and major elements, such as the nutcracker and presents, to highlight the images. This helped them to stand out from the background.


Overall I love how this turned out! I had so much fun layering paint, stencils and die cuts all together, and I look forward to creating many more art journaling layouts.

I hope you've enjoyed this Christmas project. I wish everyone a Happy New Year and look forward to sharing more crafting adventures with you in 2017!

Much love,

- Sarah -

Tuesday, 9 August 2016

File Folder Mini - Wedding Survival Guide

Hi all! Well, it's been a long time since I've used this blog. Time to get the ball rolling again!

Today I'd like to share a file folder mini album I made for a friend. I got married in April this year (YAY!) and she gets married this month, so I thought it would be fun to create a 'How to Survive Your Wedding Day' album.

Here it is:


 I made the base of the album using this youtube tutorial. I originally viewed this tutorial a few years ago when I first got into mini-albums, but I've used it many times since. I used plain manilla file folders for my album and decorated it with creams and golds to give it a vintage feel.

For the cover I tea-dyed some elasticised lace that I found in my stash - here are the before and after photos. I love how it turned out!


On the inside of the front cover I hand-lettered the title of the album. I've never thought my writing was very pretty, but after a few tries I think this turned out well! If you want to practice different writing styles, I highly recommend this website. You can search for a range of different styles of font and then type in what it is you want to write. It will show you what your word/sentence looks like in the font you've chosen, and then you can practice it. I think it turned out well for me!


After finishing the cover I then filled the book with ten different 'tips' for how to survive your wedding day. Most of them were fun little common-sense reminders, but I thought it was cute regardless. I filled the book with vintage papers and lace - I've recently learned to sew (look out for a new sewing-related post!), so it was fun stitching all the lace and trims down.


And of course a wedding album wouldn't be complete without some Prima dolls! Here I paper pieced Rita...


                                  And Audrey....


And Nikki!


Overall, it was a very fun project to make, and hopefully my friend will love it! Head over to my Youtube Video if you'd like to see the whole album.

- Sarah -

Wednesday, 22 April 2015

Envelope Mini Albums

Hi all,

After seeing some of the albums I've made for family members, my friend Chris asked if I would make her two albums for her daughters for Easter. I ended up making girly envelope mini albums and thought I'd share here.


The albums measure 6.5 x 6.5" are have lots of room for journalling, photos etc


This first one has lovely pinks, reds, and whites throughout.


The front page of each album has a decorative pocket, so that Chris could write her daughters a letter and store it in on the first page of each book.


Each page is a huge side pocket - photo mats, journalling cards or ephemera would fit perfectly.


The second album has more abstract patterns - I just love these papers!


Aren't those patterns wonderful? These mini albums are a fantastic size and can be used as journals, photo albums, or a combination! If all goes well, I'll have some of these up for sale over the coming months.

That's all for now! Happy crafting :)

- Sarah -

Wednesday, 4 March 2015

Introductions and Postcard Journal

Hi guys!

So this is my first ever blog post - woohoo! I hope this blog can be a creative space to share my crafting adventures, among other things. I hope you may be inspired, and even share what you're making in your own craft room!

So, to start, I thought I would share a mini journal I made for a swap. I'm a swapper over at swapbot and I recently made a journal there. Here it is:


I'll admit, I kinda like the outside - I find it pretty cute. The cover is made using cardstock, and the pages are made from free postcards that I got from my university. Sticking postcards together using deco tape, I then bound them to the cover using baker's twine.


I decorated the back side of the postcards with different paper mediums - book pages, patterned paper, handmade paper etc. I then added quotes from books and movies that my partner liked, and included pockets and other bits and pieces.


This is one of my favourite pages, featuring my first attempt at a paper doll I made with a Gorjuss stamp


All of the pages are decorated differently, and there's no unifying theme, making it a bit disjointed - but this made it more like a fun smash book than a formal journal.

Overall, I had fun with this swap and I LOVED making this journal.

Let me know what you think!

- Sarah -